I’ve been running Home Assistant (HA) in my homelab for a few years now, and every time someone asks me “what’s the best smart home platform?”, my answer is the same: Home Assistant, full stop. It’s open source, privacy-respecting, endlessly extensible, and once you’re up and running, you’ll wonder how you ever lived with a patchwork of cloud-dependent apps. In 2026, the platform has matured enormously — setup is faster, the UI is polished, and the integration library sits north of 3,000 services.
In this guide I’ll walk you through everything: picking the right Raspberry Pi hardware, flashing Home Assistant OS, first-run configuration, connecting your devices, writing your first automations, and a handful of power-user tips I’ve picked up along the way. Whether you’re a homelab veteran or this is your first Pi project, you’ll have a working smart home hub by the end of the afternoon.
Why Home Assistant in 2026?
Before we dive in, let’s quickly address the “why bother?” question. You could use Google Home, Amazon Alexa, or Apple HomeKit and call it done. Here’s why I didn’t:
- Privacy: Everything stays on your local network. No cloud subscription required, no data mining.
- Reliability: Your automations keep running even when an upstream cloud service goes down (and they do go down).
- Breadth: 3,000+ integrations covering everything from Zigbee bulbs and Z-Wave locks to energy monitors, NAS devices, and custom MQTT sensors.
- Cost: Free and open source. You pay for the hardware once.
- AI & voice: Home Assistant’s Assist pipeline runs locally with a Whisper speech model and Piper TTS — no Alexa or Google required.
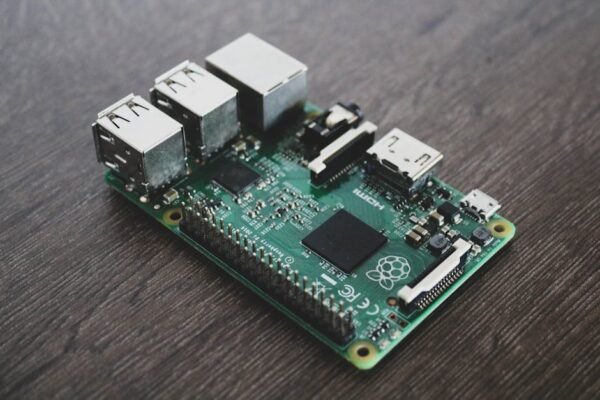
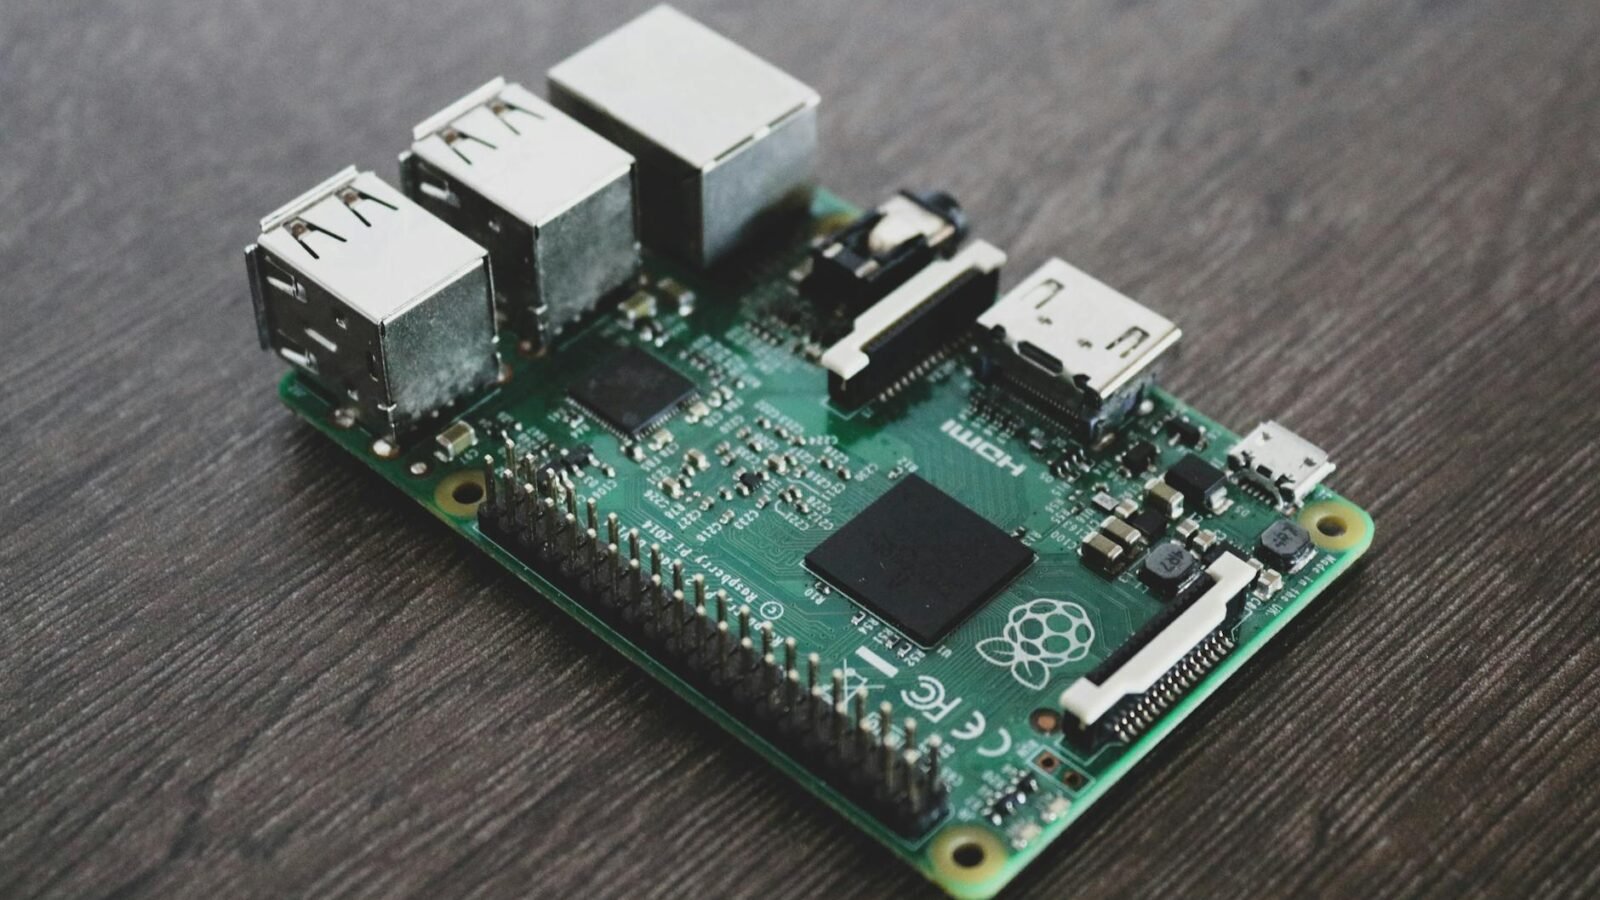
Hardware: Which Raspberry Pi Should You Use?
My recommendation in 2026 is the Raspberry Pi 5 (8 GB). It’s fast, handles concurrent integrations without breaking a sweat, and the extra RAM leaves headroom for add-ons like ESPHome, Zigbee2MQTT, and the local voice pipeline simultaneously. If you’re on a budget, a Pi 4 (4 GB) works perfectly fine for most households.
You’ll also need:
- A quality microSD card (32 GB+ / A2 rated) or a USB 3.0 SSD (highly recommended for longevity)
- Official Raspberry Pi USB-C power supply (5V/5A for Pi 5)
- Ethernet cable — use wired if at all possible for reliability
- Case with active cooling (the Pi 5 runs warm under sustained load)
SSD vs. SD Card
SD cards will eventually fail under constant database writes. I burned through two cards before switching to a 256 GB USB 3.0 SSD connected to the Pi 5’s USB 3.1 port. Use the rpi-eeprom-config tool to set BOOT_ORDER=0xf416 (USB before SD) and you’re running on flash with a proper write endurance rating.
Step 1: Download and Flash Home Assistant OS
Home Assistant OS (HAOS) is the recommended installation method. It’s a purpose-built Linux distribution that handles updates, backups, and add-on containers automatically.
- Download the Raspberry Pi Imager from
raspberrypi.com/softwareand install it on your computer. - Open Imager, click Choose OS → Other specific-purpose OS → Home assistants and home automation → Home Assistant.
- Select the image that matches your board (Raspberry Pi 5 or Pi 4).
- Choose your SD card or SSD as the storage target.
- Click Write. No additional configuration needed — HAOS handles everything on first boot.
# Alternatively, flash via CLI (Linux/Mac):
# Download the .img.xz from github.com/home-assistant/operating-system/releases
xz -d haos_rpi5-64-13.x.img.xz
sudo dd if=haos_rpi5-64-13.x.img of=/dev/sdX bs=4M status=progress conv=fsync
Insert the card/SSD, connect your Pi to the network via Ethernet, and power it on.
Step 2: First-Run Setup
Give the Pi about 3–5 minutes on first boot — it’s resizing the filesystem and pulling the latest Home Assistant Core version. Then navigate to:
http://homeassistant.local:8123
# or use the IP address if mDNS isn't working on your network:
# http://192.168.1.XXX:8123
You’ll be greeted by the onboarding wizard:
- Create your owner account. This is your local admin. Use a strong password — this dashboard controls your whole house.
- Name your home and set your location. HA uses this for sun-based automations (sunrise/sunset triggers).
- Review auto-discovered devices. HA will immediately find devices on your network — smart TVs, Philips Hue bridges, Sonos speakers, and more. Accept the ones you want to integrate.
Step 3: Essential Add-ons to Install First
Navigate to Settings → Add-ons → Add-on Store. Here’s my day-one install list:
File Editor
Gives you an in-browser YAML editor for advanced configuration. You’ll be using this constantly.
Terminal & SSH
SSH access to the underlying OS for troubleshooting and scripting.
Studio Code Server
VS Code in your browser, running on the Pi. Excellent for editing complex YAML automations with syntax highlighting and error checking.
Mosquitto MQTT Broker
If you’re running any DIY sensors (ESP8266/ESP32 via ESPHome, Tasmota devices, custom sensors), you need a local MQTT broker. Mosquitto is the gold standard.
# After installing Mosquitto, configure a user in its settings:
logins:
  - username: mqtt_user
    password: your_secure_password
Zigbee2MQTT (if using Zigbee devices)
Pairs with a Zigbee USB coordinator (like the SONOFF Zigbee 3.0 USB Dongle Plus) to control Zigbee devices directly — no proprietary hub required. This is how I run all my Ikea TRADFRI bulbs, Aqara sensors, and Sonoff switches.
Step 4: Connecting Your Devices
Home Assistant integrations fall into a few categories:
Auto-discovered integrations
Go to Settings → Devices & Services. You’ll likely see cards waiting for your attention — Philips Hue, Google Cast, Plex, Tuya, etc. Click “Configure” and follow the prompts. Most take under a minute to connect.
HACS — the Community Store
HACS (Home Assistant Community Store) unlocks thousands of community-built integrations and frontend cards that aren’t in the official store. Install it via:
# In Terminal add-on, run:
wget -O - https://get.hacs.xyz | bash -
Then restart HA, go to Settings → Devices & Services → Add Integration → search HACS. After setup, restart one more time. You’ll now have access to integrations for platforms like Afvårt, BYD, Bambu Lab printers, and custom Lovelace cards.
ESPHome for DIY sensors
ESPHome is my favourite HA add-on. You flash ESP32 boards with declarative YAML config and they appear as fully integrated devices in HA — temperature/humidity sensors, motion detectors, IR blasters, custom buttons, you name it. A $4 ESP32 board from AliExpress becomes a professionally integrated sensor in minutes.
Step 5: Writing Your First Automations
This is where Home Assistant earns its keep. Navigate to Settings → Automations & Scenes → Create Automation.
Example 1: Turn off all lights at bedtime
alias: "Lights off at bedtime"
trigger:
  - platform: time
    at: "23:00:00"
condition: []
action:
  - service: light.turn_off
    target:
      area_id: living_room
  - service: light.turn_off
    target:
      area_id: bedroom
mode: single
Example 2: Presence-based heating
alias: "Eco mode when everyone is away"
trigger:
  - platform: state
    entity_id: group.all_devices
    to: "not_home"
    for:
      minutes: 10
action:
  - service: climate.set_preset_mode
    target:
      entity_id: climate.thermostat
    data:
      preset_mode: eco
mode: single
Example 3: Notify me when the washing machine finishes
This one uses a smart plug with power monitoring. When the wattage drops below a threshold after being elevated, the cycle is done:
alias: "Washing machine done"
trigger:
  - platform: numeric_state
    entity_id: sensor.washing_machine_plug_power
    below: 5
    for:
      minutes: 2
condition:
  - condition: numeric_state
    entity_id: sensor.washing_machine_plug_power
    above: 0  # was actually on
action:
  - service: notify.mobile_app_my_phone
    data:
      title: "Laundry's done 🧺"
      message: "Time to move it to the dryer."
mode: single
Step 6: The Dashboard (Lovelace)
Home Assistant’s frontend — called Lovelace — is fully customizable. By default you get an auto-generated dashboard, but I always switch to Edit Mode and build a custom layout:
- Energy dashboard: Connect a smart meter or Shelly EM energy monitor and HA gives you a beautiful real-time energy cost and consumption dashboard.
- Floor plan cards: Upload a PNG of your floor plan and overlay entity buttons on it using the Picture Elements card.
- Mini Graph Card (HACS): Beautiful sparkline charts for any sensor — temperature trends, CPU load, door open/close history.
Step 7: Remote Access (Without Opening Firewall Ports)
I never port-forward directly into Home Assistant. Instead I use one of two methods:
Home Assistant Cloud (Nabu Casa)
$7.50/month and the easiest option. Encrypts all traffic, no config needed. Also funds the project — worth it if you want to support the developers.
Tailscale (free)
My preferred method for a pure self-hosted setup. Install the Tailscale add-on from the HA add-on store, authenticate, and your HA instance gets a stable Tailscale IP accessible from any of your devices — phone, laptop, tablet — without any ports exposed to the internet.
# After installing the Tailscale add-on:
# 1. Start the add-on
# 2. Open the add-on log to get the auth URL
# 3. Visit the URL on your phone/computer to authenticate
# 4. HA appears in your Tailscale admin console
# Access at: http://100.x.x.x:8123
Pro Tips I Wish I’d Known Earlier
Enable automatic backups
Go to Settings → System → Backups and enable automatic daily backups. Keep at least 7 days of history. Store copies off-device using the Samba Backup add-on (writes to a NAS) or the Google Drive Backup add-on.
Use the recorder component wisely
By default, HA records every entity state change. This hammers the SQLite database. Be selective:
# In configuration.yaml
recorder:
  purge_keep_days: 30
  exclude:
    domains:
      - media_player
      - weather
    entities:
      - sensor.some_noisy_sensor
Migrate to PostgreSQL for large installs
If you’re tracking 100+ entities with frequent updates (energy monitoring, high-frequency sensors), consider switching the recorder backend from SQLite to PostgreSQL. It handles write concurrency far better and makes the History panel snappier.
Use Blueprints for automation templates
The HA Blueprint Exchange on the community forums has hundreds of battle-tested automation templates. Import them with a single URL instead of writing YAML from scratch.
Troubleshooting Common Issues
| Problem | Likely Cause | Fix |
|---|---|---|
| Can’t reach homeassistant.local | mDNS not working on your router | Use the direct IP address instead; enable mDNS in router settings |
| Integration keeps disconnecting | Device IP changed | Set a static IP/DHCP reservation for the device |
| Dashboard is slow | Too many entities being recorded | Tune the recorder exclusions as shown above |
| Automations not firing | Condition block too restrictive | Check via Developer Tools → Template to test conditions manually |
| SD card corruption | Power loss or card wear | Switch to a USB SSD, set up auto-backups |
What’s New in Home Assistant in 2026
A few highlights from recent releases worth calling out:
- Matter & Thread native support: Home Assistant now acts as a full Matter controller. Thread Border Router support is built in (with compatible hardware like the OTBR add-on or Apple TV). This is the future of smart home interoperability.
- Local AI voice assistant: The Assist pipeline with Whisper + Piper runs fully offline. Connect a USB microphone and a speaker to your Pi and you have a private, cloud-free voice assistant that controls your home.
- Energy AI suggestions: Home Assistant’s new Energy AI feature analyzes your usage patterns and proactively suggests automations to reduce your energy bill.
- Improved mobile companion app: The iOS and Android apps now support rich notifications with camera snapshots, actionable buttons, and real-time sensor data widgets.
Final Thoughts
Setting up Home Assistant on a Raspberry Pi is one of the most satisfying homelab projects you can tackle in an afternoon. You come out the other side with a genuinely powerful, private, and extensible smart home hub that you own completely — no subscriptions, no data leaving your house, no deprecation notices from a cloud vendor deciding your hardware isn’t profitable anymore.
The learning curve is real, especially once you get into YAML automations, but the HA community is enormous and the documentation is excellent. Start simple: get a few lights working, write a bedtime automation, add a sensor. Then keep layering. Six months from now you’ll have 200 entities, a floor plan dashboard, and a system that genuinely makes your home smarter.
Got questions about your specific setup? Drop them in the comments — I’m happy to help debug.