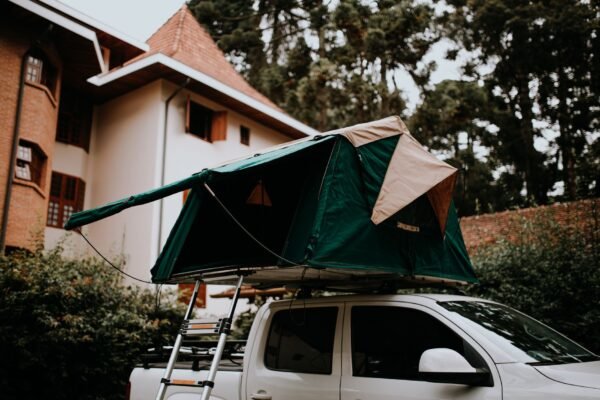
You’re three miles down a forest service road, the canyon walls are closing in, and your buddy’s rig just took a rock to the oil pan. There’s zero cell signal. Your group is spread out across a quarter mile of trail. This is exactly why trail communication isn’t optional — it’s part of the kit, same as a recovery strap or a spare tire.
I’ve been running trails in the Southwest for the better part of a decade, and I’ve watched communication gear evolve from scratchy CBs mounted under the dash to full digital GMRS setups with repeater access and satellite messengers that can text your wife from the middle of nowhere. The options are better than ever, but so is the confusion about what to actually buy and how to use it.
This guide breaks down every layer of the trail communication stack — from old-school CB to modern GMRS to satellite — so you can build a setup that fits your budget and the kind of wheeling you do.
Why You Need a Dedicated Communication Plan
Your smartphone is not a communication plan. I can’t stress this enough. Cell coverage in off-road terrain is notoriously unreliable. Canyons, dense tree cover, remote valleys — all of it destroys the signal your carrier promises in their coverage maps. And even when you technically have a bar or two, a group of rigs spread across a trail can’t coordinate efficiently over group texts with 30-second lag.
A proper trail comm setup solves three distinct problems:
- Real-time convoy coordination — calling obstacles ahead, flagging tight turns, warning about oncoming traffic
- Emergency communication within the group — a vehicle-mounted radio reaches everyone instantly, no fumbling with a phone
- Emergency communication outside the group — when someone gets hurt and you need Search and Rescue, a satellite messenger is the only reliable option in the backcountry
These require different tools. Let’s go through each layer.
Layer 1: CB Radio — The Universal Trail Standard
CB (Citizens Band) radio is still the most widely used trail communication system, and there’s a solid reason for that: no license required, virtually everyone has one, and channel 4 is the de facto off-road standard used everywhere from Moab to the Rubicon.
How CB Works
CB operates on 40 channels in the 27 MHz band. Legal power output is capped at 4 watts AM (12 watts SSB — Single Sideband, which most trail rigs don’t use). At 4 watts with a good antenna, you’re looking at 1–5 miles of practical range in flat, open terrain. In canyon country or dense forest, that shrinks to half a mile or less. It’s a line-of-sight system at its core.
CB Radio Picks for Trail Rigs
The Cobra 75 WX ST is my first recommendation for space-constrained builds. The control head and the transceiver are separate, so the radio body mounts out of the way (under a seat, in a cubby) and just the small control head clips to the dash or sun visor. Clean install, and it sounds good. Around $75.
The Midland 1001Z is a solid full-sized unit if you want simplicity and a front-facing speaker. Dead reliable, easy to install, under $50. Hard to beat for the price.
For serious wheelers, the Cobra 29 LX MAX is the gold standard for a traditional dash-mount CB. It has a built-in SWR meter (critical for tuning your antenna), instant channel 9/19 buttons, and solid build quality. Runs about $100.
The Antenna Is Everything
A mediocre radio with a great antenna will always outperform a great radio with a bad antenna. This is the number one mistake I see on trail rigs.
For Jeeps and other off-road vehicles, the Firestik FS-4 or FS-3 fiberglass antenna is a classic choice — flexible, durable, and available in 3-foot and 4-foot lengths. The 4-footer performs better; the 3-footer clears more obstacles. Mount it on the front bumper corner or the windshield A-pillar for the best ground plane.
The Wilson 5000 series is a step up in performance if you’re running open terrain and want maximum range. It’s a co-phased dual-antenna setup — not ideal for a Jeep but excellent on a flatbed overland rig.
Regardless of antenna choice, always tune your SWR (Standing Wave Ratio) after installation. An SWR above 2:1 wastes power and can damage your radio. The process takes 10 minutes with an SWR meter or a radio that has one built in.
Layer 2: GMRS — Better Range, Better Audio, Requires a License
General Mobile Radio Service (GMRS) is where serious trail communicators have been migrating, and the gap with CB is widening every year. GMRS operates in the UHF band (462–467 MHz), which provides noticeably better audio clarity, supports up to 50 watts of output power for mobile units, and — crucially — can use repeaters to dramatically extend range in mountainous terrain.
The License Situation
You need an FCC license to use GMRS. The good news: it’s a $35 fee, no test required, and the license covers your entire immediate family for 10 years. Apply at the FCC Universal Licensing System (ULS). Approval typically comes within a few days. There’s no excuse not to do this.
GMRS Radio Options
The Midland MXT575 is the trail-ready GMRS mobile radio right now. 40 watts of output power, weatherproof, and the micro-mobile form factor is perfect for a Jeep install. The separate control head keeps the transceiver tucked away. Around $250.
The Radioddity DB25-G is a newer competitor at around $180 that’s been gaining traction in the overlanding community. 25 watts, compact, and it supports NOAA weather alerts. Good value for the price.
For handheld radios to give passengers or scouts on foot, the Midland T71VP3 handheld GMRS radios are solid and waterproof. They pair well with a vehicle-mounted GMRS setup — everyone on the same channel.
GMRS Repeaters
This is GMRS’s killer feature. Many off-road areas — particularly popular wheeling destinations in Utah, Colorado, and California — have GMRS repeater networks set up by local clubs. Access a repeater on a ridge top and suddenly your 40-watt mobile radio reaches 20–30 miles in mountainous terrain. The MyGMRS repeater directory lists active repeaters by location.
Not all repeaters are open-access; some require a CTCSS (PL) tone to access. Your radio should support CTCSS — both the Midland MXT575 and Radioddity DB25-G do.
GMRS vs CB: When to Use Which
Use CB when you’re in a mixed group where not everyone has GMRS gear, or on popular trails where CB is the established standard (Moab still runs almost entirely on CB channel 4). Use GMRS when you’re with a consistent group and want the best audio quality and range, especially in terrain where repeaters are available.
Many serious overlanders run both. A CB for trail-standard communication and a GMRS for within-group comms isn’t overkill — it’s smart layering. For a deeper look at how your communication setup fits into a full overland build, check out the Overlanding 101 guide.
Layer 3: Satellite Messengers — For When Everything Else Fails
CB and GMRS are great for convoy communication. But neither reaches Search and Rescue when your group is pinned down in a slot canyon with a seriously injured rider. That’s where satellite communication earns its place in the kit.
Garmin inReach Mini 2
The Garmin inReach Mini 2 is the gold standard for backcountry communication at a reasonable size and price. It uses the Iridium satellite network — genuine global coverage, pole to pole — and supports two-way text messaging, GPS tracking, and SOS with a 24/7 staffed GEOS rescue coordination center.
Key specs: 1.4-inch display, up to 14 days battery life in 10-minute tracking mode, IPX7 waterproof, pairs to your phone via Bluetooth for messaging with a full keyboard. Subscription plans start at around $15/month for basic messaging. The device itself runs about $350.
The SOS function is the critical capability. Press and hold the SOS button, and an alert goes to GEOS with your GPS coordinates. They contact local Search and Rescue on your behalf and maintain two-way communication with you until help arrives. That function alone justifies the device.
SPOT Gen4
The SPOT Gen4 is the budget entry into satellite communication at around $180 for the device. It uses the Globalstar network rather than Iridium — which means less complete polar coverage, though it works fine across North America. It supports one-way preset messages (OK, Help, SOS) and GPS tracking but no true two-way texting without upgrading to SPOT X.
If you’re primarily wheeling in the continental US and want the lowest cost entry point to satellite comms, SPOT Gen4 is a reasonable choice. If you want real two-way communication, the Garmin inReach is worth the premium.
Zoleo Satellite Communicator
The Zoleo has gotten attention for its seamless integration with a smartphone app and relatively low plan cost (starting at $20/month). It uses the Iridium network like Garmin and supports unlimited SOS messaging. The device is $200. The tradeoff is a slightly bulkier form factor and a required monthly subscription even in low-use mode.
PLBs: The No-Subscription Option
Personal Locator Beacons (PLBs) like the ACR ResQLink 400 are worth mentioning for those who want emergency capability without a monthly fee. PLBs use the COSPAS-SARSAT system — the same international network used by aviation and maritime distress beacons — with no subscription cost. Once activated, local SAR is notified via a government-operated network.
The downside: one-way only. You can’t communicate back, check in with family, or easily cancel a false alarm. For pure emergency backup with zero recurring cost, it’s hard to argue against. For regular backcountry communication, a two-way device is more useful.
Antenna Mounts and Installation Tips
A few practical notes on getting the install right:
CB antenna placement: The best location is a front bumper corner mount or an A-pillar mount. You want as much metal ground plane as possible below the antenna — roof mounts are ideal for vans, but a Jeep’s smaller roof creates a compromised ground plane. Rear mounts on a Jeep work but often suffer from the body acting as an obstacle. If you’re running a fiberglass body, add a ground plane strap from the mount to the chassis.
Coax quality matters: Don’t cheap out on the coax cable. RG-8X is the standard for most CB installs. Keep the run as short as practical — excess coax kills performance — and avoid sharp bends near connector ends.
GMRS antenna: GMRS UHF antennas are physically much smaller than CB antennas. A quarter-wave GMRS antenna is only about 6 inches, versus 3–4 feet for CB. This makes GMRS antenna placement much more flexible. Magnetic mounts work well for GMRS and are a clean solution if you don’t want a permanent install.
Weatherproofing connections: Use self-amalgamating tape (not regular electrical tape) on all antenna connections that will see the elements. It fuses to itself and won’t unwind when wet.
Building the Full Stack: Putting It Together
Here’s how I’d approach building out communication gear at three budget levels:
Entry-Level Setup (~$110 + satellite plan)
- Midland 1001Z CB radio (~$50) or Cobra 75 WX ST (~$75)
- Firestik FS-3 antenna with mount (~$35–45)
- Garmin inReach Mini 2 (~$350 + ~$15/month plan) for emergency SOS
Mid-Range Setup (~$450 + satellite plan)
- Midland MXT575 GMRS mobile + FCC license (~$250 + $35)
- Midland T71VP3 handheld pair for passengers (~$65)
- Cobra 29 LX MAX CB for trail-standard compatibility (~$100)
- Garmin inReach Mini 2 (~$350) or SPOT Gen4 (~$180) for SOS
Full Build (~$900+)
- All of the above
- Secondary GMRS handheld for the recovery bag
- Hardwired power for both mobile radios on independent fused circuits
- Properly tuned SWR on both antenna systems
- Garmin inReach with satellite weather subscription
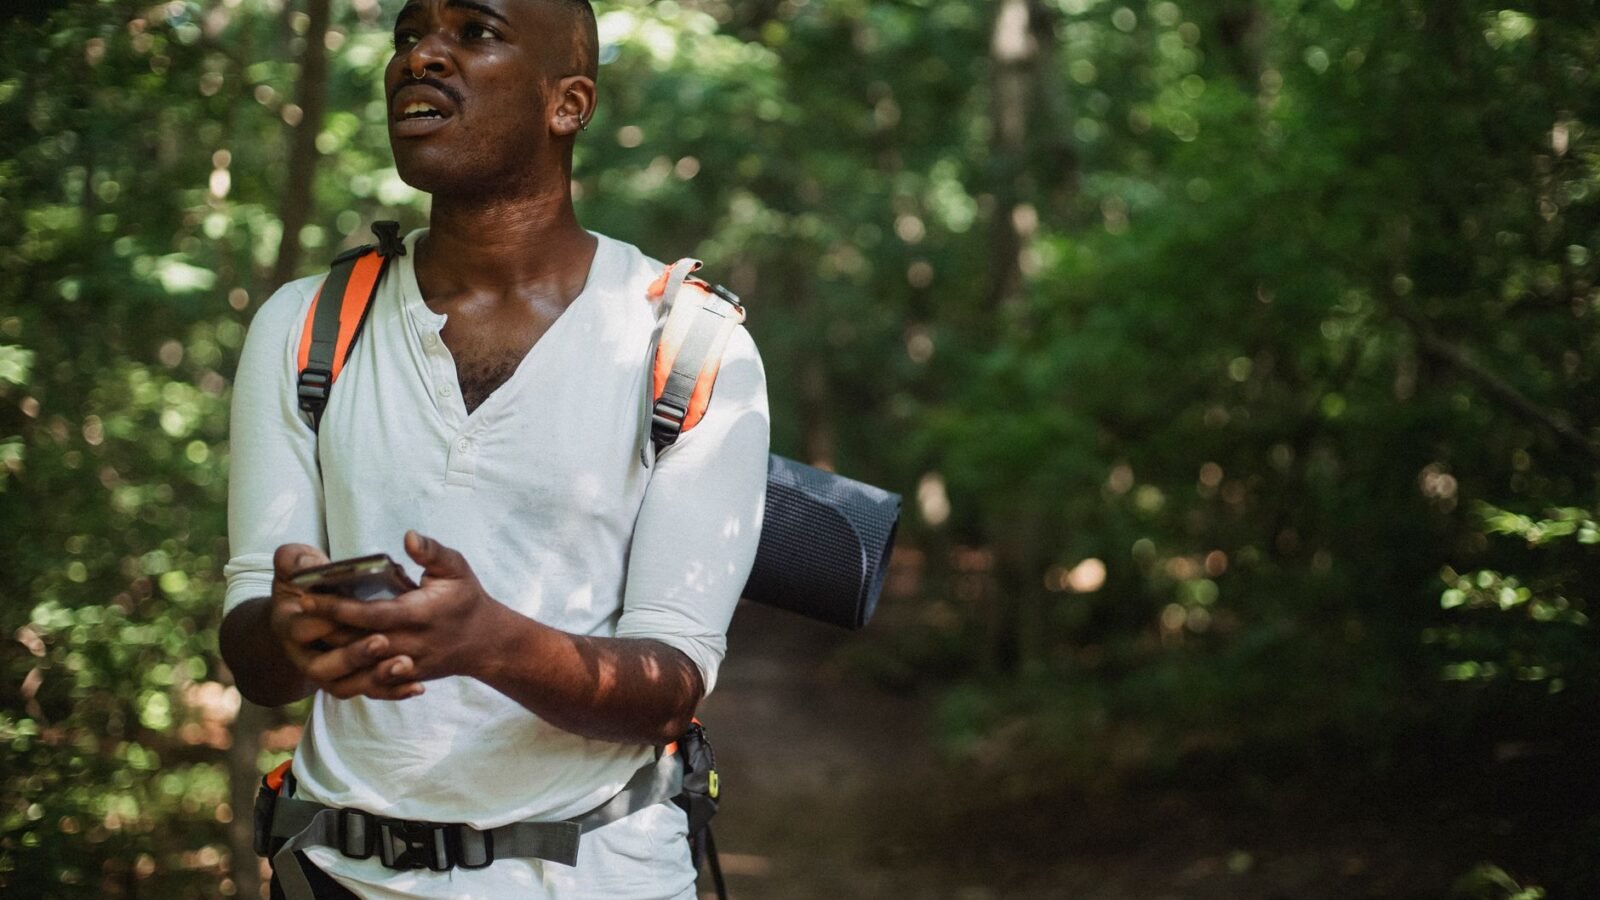
The recovery bag connection is worth emphasizing: a handheld GMRS radio in your recovery gear bag means if you’re separated from your rig — scouting a line on foot or hiking for cell signal — you’re still on comms. Pair this with your overall recovery setup for a much more complete system. If you’re still sorting out what goes in the recovery kit, the Top 10 Recovery Gear guide is a solid starting point.
Trail Etiquette and Radio Protocol
A few things that’ll make you a better radio operator on the trail:
Listen before you transmit. Pause for two seconds after pressing the PTT (push-to-talk) button before speaking. Radio transceivers take a moment to switch from receive to transmit — speak too quickly and you’ll clip the first word.
Keep transmissions short and clear. “Jake to convoy, rock ledge about 200 feet ahead, go slow” is better than a 30-second play-by-play. Dead air is valuable on the channel.
Acknowledge messages. “Copy that” or “10-4” tells the sender their message was received. Don’t leave people wondering if you heard them.
GMRS channel assignments for trail use: GMRS channels 15–22 (462.550–462.725 MHz) are the recommended choice for vehicle-to-vehicle trail comms. FRS users are limited to just 0.5 watts on these channels, which dramatically reduces congestion compared to channels 1–7 where FRS transmitters can run up to 2 watts. Use a CTCSS tone to further cut down on interference from other groups using the same channel.
Reserve SOS for real emergencies. Your satellite messenger’s SOS function triggers a paid government response. GEOS coordinates SAR teams. False activations cost real resources and can result in fines. Test your device only in training mode, never with the live SOS function.
The GPS Layer: Integrating Mapping with Communication
Your satellite messenger is also a GPS tracker, but it works best when paired with a dedicated mapping app on your phone. Garmin inReach integrates directly with the Garmin Explore app — you can share your track live with contacts back home, see breadcrumbs from the whole group if everyone has an inReach, and pull weather forecasts from the trail. The Trail Mapping Apps guide covers the software side in depth, including Gaia GPS and onX Offroad integrations that pair well with satellite messenger hardware.
Final Thoughts
A solid trail communication setup doesn’t have to be expensive or complicated, but it does have to exist before you need it. The basics — a CB radio for convoy comms and a satellite messenger for emergencies — can be had for under $500 total and will serve you well for years.
The upgrade path is clear: add GMRS when you’re ready to commit to a regular group and want better audio quality, and build out the antenna setup properly rather than cutting corners on coax and SWR tuning. Get the FCC license before you key up on GMRS — it’s $35 and 10 minutes of your time.
The goal is to never be the group that ends up in a rescue because they couldn’t communicate. Every serious overlander I know has a communication failure story from their early days — most of them could have been avoided with a $50 CB radio and a basic understanding of how to use it. Don’t be that story.
Stay loud, stay safe, and see you on the trail.