What Is MPLS and Why Do Engineers Still Care?
MPLS — Multiprotocol Label Switching — has been the backbone of service provider and large enterprise networks for over two decades, and it isn’t going anywhere soon. If you’re running a multi-site enterprise WAN, leasing circuits from a carrier, or managing a service provider core, you’re almost certainly dealing with MPLS. Understanding how it works under the hood — specifically Layer 3 VPNs — is what separates engineers who can troubleshoot a production outage at 2 AM from those who just stare at the dashboard hoping it clears on its own.
This guide walks through a complete MPLS L3VPN configuration on Cisco IOS-XE, from enabling label switching on your core links through to verifying end-to-end VPN connectivity. We’ll use real CLI with actual show command output so you know exactly what to expect in your own lab or production environment.
The Architecture in 60 Seconds
Before touching the CLI, you need the mental model. MPLS L3VPN has three moving parts:
- Provider (P) routers — Core routers in the MPLS cloud. They forward labeled packets but have no knowledge of customer VRFs. They just swap labels and forward.
- Provider Edge (PE) routers — The workhorses. They sit at the boundary between the customer and the MPLS core. They maintain customer VRFs, run MP-BGP with other PEs, and impose/strip MPLS labels.
- Customer Edge (CE) routers — The customer’s gear. From the CE’s perspective, it’s just peering with a router. It has zero MPLS awareness.
The magic that makes VPN separation work is the combination of VRFs (Virtual Routing and Forwarding instances) on the PE, Route Distinguishers (RDs) to make overlapping customer prefixes globally unique in the BGP table, and Route Targets (RTs) to control which VRFs import and export which routes. If you’re already comfortable with how BGP works at the protocol level, the MP-BGP extensions for VPNv4 will feel familiar — it’s the same BGP mechanics with VPN-specific address families bolted on.
One more concept before we start: the label stack. Every VPN packet inside the MPLS core carries two labels stacked together. The outer label is the transport label — assigned by LDP to reach the remote PE’s loopback. The inner label is the VPN label — assigned by the remote PE to identify which VRF the packet belongs to. P routers only look at the outer label and have no idea what’s underneath. PEs impose both labels on ingress and strip both on egress.
Lab Topology
We’ll use a simple but realistic topology: two PE routers (PE1, PE2), one P router in the middle, and two CE routers representing the same customer VPN at two geographically separate sites.
CE1 (10.1.1.1) --- PE1 (Lo0: 1.1.1.1) --- P (Lo0: 3.3.3.3) --- PE2 (Lo0: 2.2.2.2) --- CE2 (10.2.2.1)
   172.16.10.0/30       10.0.12.0/30    10.0.23.0/30       172.16.20.0/30
The core (PE1–P–PE2) runs OSPF as the IGP and LDP for label distribution. The PE-CE links run OSPF for the customer, and MP-BGP carries VPNv4 routes between PE1 and PE2 over their loopbacks.
Step 1: Core IGP — OSPF on All P and PE Routers
MPLS needs a stable IGP to distribute loopback reachability. LDP peers use loopback addresses as router IDs, and MP-BGP sessions peer to them as well. Get this right first — everything downstream depends on it.
PE1:
PE1(config)# router ospf 1
PE1(config-router)# router-id 1.1.1.1
PE1(config-router)# network 1.1.1.1 0.0.0.0 area 0
PE1(config-router)# network 10.0.12.0 0.0.0.3 area 0
PE1(config-router)# passive-interface Loopback0
P router:
P(config)# router ospf 1
P(config-router)# router-id 3.3.3.3
P(config-router)# network 3.3.3.3 0.0.0.0 area 0
P(config-router)# network 10.0.12.0 0.0.0.3 area 0
P(config-router)# network 10.0.23.0 0.0.0.3 area 0
P(config-router)# passive-interface Loopback0
PE2:
PE2(config)# router ospf 1
PE2(config-router)# router-id 2.2.2.2
PE2(config-router)# network 2.2.2.2 0.0.0.0 area 0
PE2(config-router)# network 10.0.23.0 0.0.0.3 area 0
PE2(config-router)# passive-interface Loopback0
Verify OSPF adjacencies before moving on. You need to see FULL state on all core links — OSPF 2-way or INIT state means labels won’t be exchanged either. If you’re hitting adjacency problems, the OSPF troubleshooting guide for IOS-XE covers the most common failure modes in detail.
PE1# show ip ospf neighbor

Neighbor ID     Pri   State           Dead Time   Address         Interface
3.3.3.3           1   FULL/DR         00:00:34    10.0.12.2       GigabitEthernet0/1
Also confirm that all loopbacks are reachable from PE1:
PE1# show ip route ospf | include /32
O     2.2.2.2/32 [110/3] via 10.0.12.2, 00:01:12, GigabitEthernet0/1
O     3.3.3.3/32 [110/2] via 10.0.12.2, 00:01:12, GigabitEthernet0/1
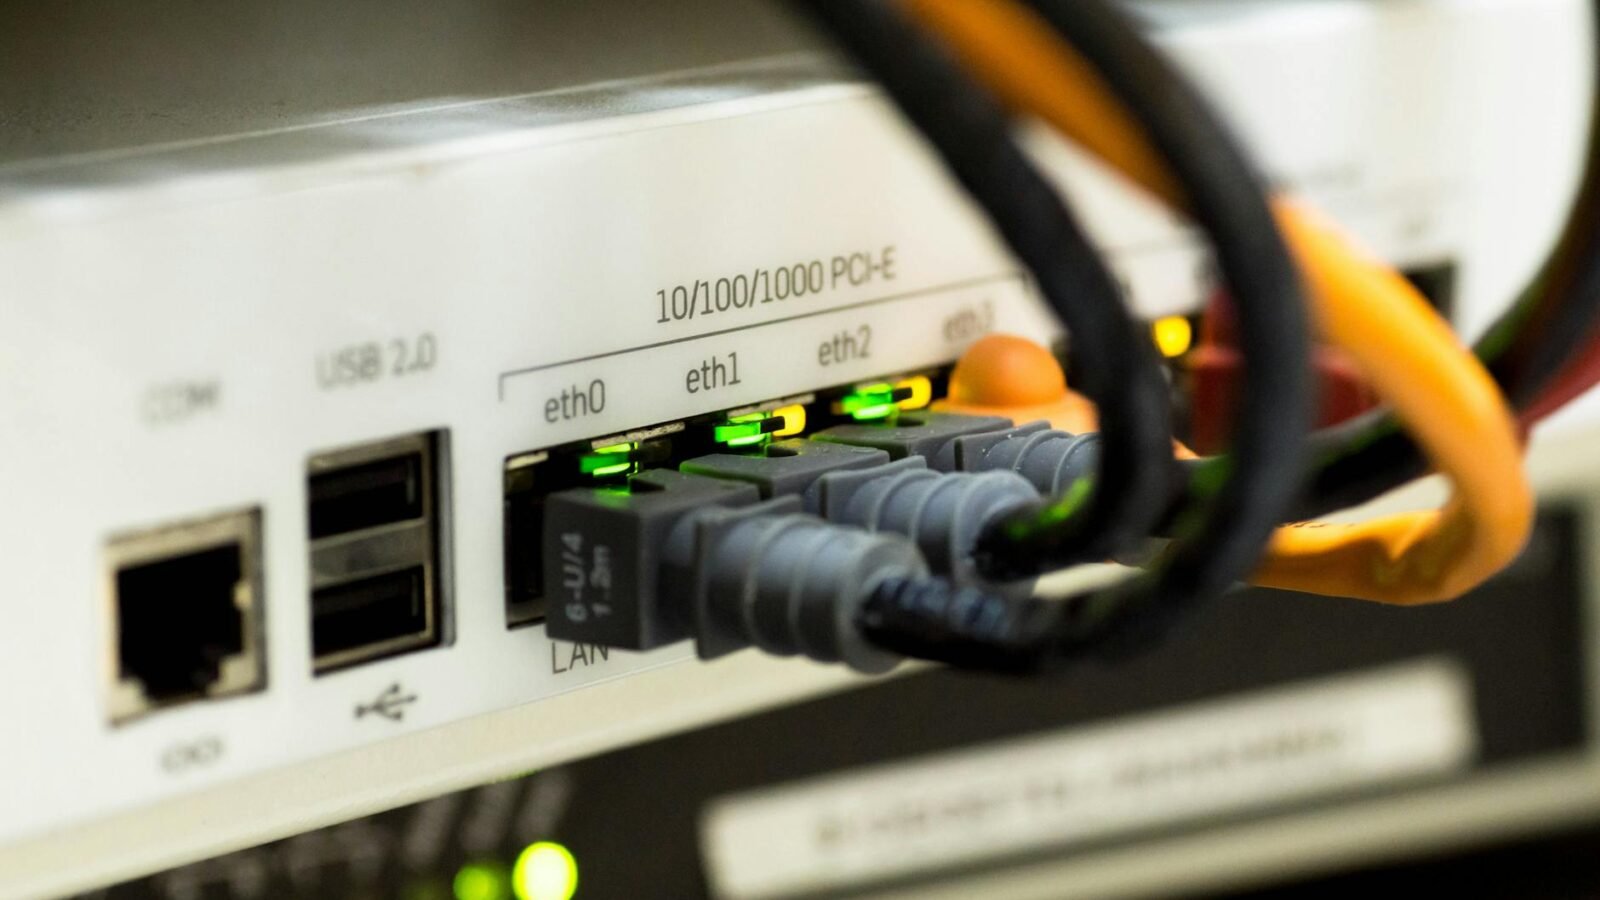
Step 2: Enable MPLS and LDP on Core Links
With OSPF up and loopbacks reachable, enable MPLS label switching on the interfaces that face the core. Do not enable MPLS on PE-CE interfaces — customers don’t see labels.
PE1:
PE1(config)# mpls ip
PE1(config)# mpls ldp router-id Loopback0 force
PE1(config)# interface GigabitEthernet0/1
PE1(config-if)# mpls ip
P router (both core-facing interfaces):
P(config)# mpls ip
P(config)# mpls ldp router-id Loopback0 force
P(config)# interface GigabitEthernet0/0
P(config-if)# mpls ip
P(config)# interface GigabitEthernet0/1
P(config-if)# mpls ip
PE2:
PE2(config)# mpls ip
PE2(config)# mpls ldp router-id Loopback0 force
PE2(config)# interface GigabitEthernet0/0
PE2(config-if)# mpls ip
The mpls ldp router-id Loopback0 force command is worth calling out explicitly. If a router has multiple interfaces, IOS-XE may pick a different interface IP as the LDP router ID depending on what came up first. Pinning it to the loopback ensures your LDP sessions are consistent and that the LDP ID matches what OSPF is advertising. Skip this and you may find LDP sessions that establish using a transit address, making troubleshooting confusing.
Verify LDP sessions are established:
PE1# show mpls ldp neighbor

    Peer LDP Ident: 3.3.3.3:0; Local LDP Ident 1.1.1.1:0
        TCP connection: 3.3.3.3.646 - 1.1.1.1.24345
        State: Oper; Msgs sent/rcvd: 42/41; Downstream
        Up time: 00:08:17
        LDP discovery sources:
          GigabitEthernet0/1, Src IP addr: 10.0.12.2
        Addresses bound to peer LDP Ident:
          10.0.12.2       3.3.3.3
Check that labels are being distributed for the remote PE’s loopback:
PE1# show mpls forwarding-table

Local      Outgoing   Prefix           Bytes Label   Outgoing   Next Hop
Label      Label      or Tunnel Id     Switched       interface
16         Pop Label  3.3.3.3/32       0              Gi0/1      10.0.12.2
17         17         2.2.2.2/32       0              Gi0/1      10.0.12.2
Label 17 for 2.2.2.2/32 is the transport label PE1 will use to reach PE2. The P router pops the outer label one hop before the destination via penultimate hop popping (PHP) — which is why PE1’s entry for 3.3.3.3/32 shows “Pop Label” as the outgoing label. PE2 receives packets for its own loopback with no label at all, which is the expected behavior.
Step 3: Configure VRFs on PE Routers
VRFs are the containers that isolate each customer’s routing table from the global table and from each other. On modern IOS-XE, use the vrf definition syntax — the legacy ip vrf command doesn’t support IPv6 address families and is being phased out.
PE1:
PE1(config)# vrf definition CUSTOMER_A
PE1(config-vrf)# rd 65000:100
PE1(config-vrf)# route-target export 65000:100
PE1(config-vrf)# route-target import 65000:100
PE1(config-vrf)# address-family ipv4
PE1(config-vrf-af)# exit-address-family
PE2:
PE2(config)# vrf definition CUSTOMER_A
PE2(config-vrf)# rd 65000:100
PE2(config-vrf)# route-target export 65000:100
PE2(config-vrf)# route-target import 65000:100
PE2(config-vrf)# address-family ipv4
PE2(config-vrf-af)# exit-address-family
The RD value (65000:100) makes customer prefixes globally unique in the VPNv4 BGP table. Without it, two customers using identical overlapping address space (both using 10.0.0.0/8, for example) would be indistinguishable in MP-BGP. The RT controls import/export — both PEs export and import RT 65000:100, which means each PE imports routes from the other. This is the full-mesh (any-to-any) model. For hub-and-spoke topologies, you’d use asymmetric RTs: spokes export one RT and import a different one from the hub.
Now assign the PE-CE interface to the VRF:
PE1(config)# interface GigabitEthernet0/2
PE1(config-if)# vrf forwarding CUSTOMER_A
PE1(config-if)# ip address 172.16.10.2 255.255.255.252
The vrf forwarding command removes any existing IP address from the interface. Always re-apply the IP address on the next line immediately after. If you’re configuring a physical interface that’s already in use, this will drop the existing address and any established sessions through it.
Step 4: Configure MP-BGP Between PE Routers
Standard BGP only carries IPv4 unicast. To carry VPNv4 routes (customer prefixes with their RD prepended as a 64-bit prefix), you need the vpnv4 address family enabled on the iBGP session between PEs. Both PEs are in AS 65000.
PE1:
PE1(config)# router bgp 65000
PE1(config-router)# bgp router-id 1.1.1.1
PE1(config-router)# no bgp default ipv4-unicast
PE1(config-router)# neighbor 2.2.2.2 remote-as 65000
PE1(config-router)# neighbor 2.2.2.2 update-source Loopback0
PE1(config-router)# !
PE1(config-router)# address-family vpnv4
PE1(config-router-af)# neighbor 2.2.2.2 activate
PE1(config-router-af)# neighbor 2.2.2.2 send-community both
PE1(config-router-af)# exit-address-family
PE2 (mirror config):
PE2(config)# router bgp 65000
PE2(config-router)# bgp router-id 2.2.2.2
PE2(config-router)# no bgp default ipv4-unicast
PE2(config-router)# neighbor 1.1.1.1 remote-as 65000
PE2(config-router)# neighbor 1.1.1.1 update-source Loopback0
PE2(config-router)# !
PE2(config-router)# address-family vpnv4
PE2(config-router-af)# neighbor 1.1.1.1 activate
PE2(config-router-af)# neighbor 1.1.1.1 send-community both
PE2(config-router-af)# exit-address-family
Two commands here that trip people up. First, no bgp default ipv4-unicast — by default, IOS-XE activates the IPv4 unicast address family for every new BGP neighbor. Disabling the default means your neighbors only carry traffic in address families you explicitly configure. For a PE that’s only supposed to exchange VPNv4 routes, this is the correct posture.
Second, and more critically: send-community both. Without this, BGP will not advertise extended communities to this neighbor. Extended communities are what carry the Route Target. No RT in the update means the receiving PE has no idea which VRF to import the route into — it discards it. Your BGP session will come up, your peer count will look healthy, and you’ll see zero VPNv4 prefixes. This is the most common gotcha in L3VPN deployments.
Verify the BGP session comes up:
PE1# show bgp vpnv4 unicast all summary

Neighbor        V           AS MsgRcvd MsgSent   TblVer  InQ OutQ Up/Down  State/PfxRcd
2.2.2.2         4        65000      18      19        6    0    0 00:12:04        0
Zero prefixes is expected at this point — we haven’t redistributed any customer routes into BGP yet.
Step 5: CE-PE Routing (OSPF in VRF Context)
The CE routers have no MPLS awareness. From their perspective they’re just running a routing protocol with a neighbor. We’ll use OSPF between CE and PE, but on the PE side the OSPF process runs inside the VRF context.
PE1 — OSPF process for the VRF:
PE1(config)# router ospf 100 vrf CUSTOMER_A
PE1(config-router)# router-id 172.16.10.2
PE1(config-router)# network 172.16.10.0 0.0.0.3 area 0
PE1(config-router)# redistribute bgp 65000 subnets
PE1 — Redistribute VRF OSPF routes into BGP:
PE1(config)# router bgp 65000
PE1(config-router)# address-family ipv4 vrf CUSTOMER_A
PE1(config-router-af)# redistribute ospf 100
PE1(config-router-af)# exit-address-family
CE1 (standard OSPF, no VRF):
CE1(config)# router ospf 1
CE1(config-router)# router-id 172.16.10.1
CE1(config-router)# network 172.16.10.0 0.0.0.3 area 0
CE1(config-router)# network 10.1.1.0 0.0.0.255 area 0
Apply the equivalent configuration on PE2 and CE2, using OSPF process 100 in vrf CUSTOMER_A on PE2, and redistributing into/from BGP. When complete, the redistribution chain looks like: CE1 OSPF → PE1 VRF OSPF → PE1 BGP VRF AF → VPNv4 to PE2 → PE2 BGP VRF AF → PE2 VRF OSPF → CE2 OSPF. Every hop of that chain has to work for end-to-end reachability.
Step 6: Verification — Does Traffic Flow?
Verify systematically, bottom-up. Start at the VRF routing table, then check the BGP VPNv4 table, then the label forwarding table, and finally test end-to-end connectivity.
Check VRF routing table on PE1:
PE1# show ip route vrf CUSTOMER_A

Routing Table: CUSTOMER_A
Codes: L - local, C - connected, S - static, R - RIP, M - mobile, B - BGP
       O - OSPF, IA - OSPF inter area ...

Gateway of last resort is not set

      10.0.0.0/24 is subnetted, 1 subnets
O        10.1.1.0/24 [110/2] via 172.16.10.1, 00:05:22, GigabitEthernet0/2
B        10.2.2.0/24 [200/2] via 2.2.2.2, 00:03:11
      172.16.0.0/30 is subnetted, 2 subnets
C        172.16.10.0 is directly connected, GigabitEthernet0/2
L        172.16.10.2 is directly connected, GigabitEthernet0/2
The B entry for 10.2.2.0/24 learned via iBGP from 2.2.2.2 is what you want. The next hop is PE2’s loopback — not a directly connected address — which confirms MPLS will be used to reach it.
Check VPNv4 BGP table — confirm labels and communities:
PE1# show bgp vpnv4 unicast all

BGP table version is 8, local router ID is 1.1.1.1
Status codes: s suppressed, d damped, h history, * valid, > best, i - internal,
              r RIB-failure, S Stale, m multipath, b backup-path
Origin codes: i - IGP, e - EGP, ? - incomplete

   Network          Next Hop         Metric LocPrf Weight Path
Route Distinguisher: 65000:100 (default for vrf CUSTOMER_A)
*> 10.1.1.0/24      172.16.10.1           2         32768 ?
*>i10.2.2.0/24      2.2.2.2               2    100      0 ?
Verify the two-label stack for VPN traffic:
PE1# show mpls forwarding-table vrf CUSTOMER_A 10.2.2.0 detail

Local      Outgoing   Prefix           Bytes Label   Outgoing   Next Hop
Label      Label      or Tunnel Id     Switched       interface
None       17         10.2.2.0/24[V]   0              Gi0/1      10.0.12.2
        MAC/Encaps=14/22, MRU=1500, Label Stack{17 24}
        GigabitEthernet0/1
The [V] tag indicates a VPN prefix. The label stack {17 24} shows the two labels that will be imposed: 17 is the transport label (LDP, gets PE1 to PE2), 24 is the VPN label (assigned by PE2 to identify CUSTOMER_A). The P router in the middle only processes label 17 and swaps it. Label 24 is untouched until PE2 strips it and looks up the packet in the CUSTOMER_A VRF.
End-to-end ping from CE1 to CE2:
CE1# ping 10.2.2.1 source 10.1.1.1
Type escape sequence to abort.
Sending 5, 100-byte ICMP Echos to 10.2.2.1, timeout is 2 seconds:
Packet sent with a source address of 10.1.1.1
!!!!!
Success rate is 100 percent (5/5), round-trip min/avg/max = 4/5/7 ms
Five exclamation marks. That’s the sound of an MPLS L3VPN working correctly end to end.
Common Issues and What to Check
BGP session up but zero VPNv4 prefixes: Almost always a missing send-community both statement, or the redistribute command is absent from the BGP VRF address family. Run show bgp vpnv4 unicast all on both PEs and check if routes are present locally but not being received remotely. Then check show bgp vpnv4 unicast all neighbors 2.2.2.2 advertised-routes to see what’s actually being sent.
CE can ping PE but not the remote site: The VRF routing table has the BGP route, but the label stack is missing. Run show mpls forwarding-table vrf CUSTOMER_A detail and look for a valid label stack. If the outgoing label shows “No Label,” LDP doesn’t have a label binding for the remote PE’s loopback — go back and check OSPF reachability to that loopback and verify LDP sessions are established all the way through the core.
LDP neighbor not forming: LDP uses the IGP to discover neighbors via multicast hellos on directly connected links. If OSPF isn’t up, LDP hellos won’t be exchanged. Confirm with show mpls ldp discovery — you should see hello packets being sent and received on core interfaces. If the LDP session doesn’t establish even when OSPF is up, check that TCP port 646 isn’t blocked by an ACL on the interface.
PE1# show mpls ldp discovery

 Local LDP Identifier:
    1.1.1.1:0
    Discovery Sources:
    Interfaces:
        GigabitEthernet0/1 (ldp): xmit/recv
            LDP Id: 3.3.3.3:0
VRF route missing after interface assignment: Assigning vrf forwarding to an interface clears the IP address. If you forgot to re-apply it, the interface is in the VRF but has no address, so no OSPF adjacency can form with the CE. Run show ip interface brief vrf CUSTOMER_A to confirm the interface address is present.
Route leaking between VRFs: If you need shared services (DNS, NTP, a common internet breakout), you can import an additional Route Target into a VRF. Be deliberate about which RTs you import. Accidentally importing the wrong RT pushes routes from one customer’s VRF into another’s — which is a security incident, not just a misconfiguration. Always document your RT scheme and use a naming convention that makes the import/export intent obvious.
Scaling to a Real SP Environment
In a production service provider core with dozens or hundreds of PEs, a full iBGP mesh between PEs becomes unmanageable. The standard solution is Route Reflectors (RRs). You designate one or two high-availability routers as RRs, and all PEs peer with the RR instead of with each other. The RR reflects VPNv4 NLRIs to all PE clients without modifying the next-hop or labels.
The MP-BGP VPN config on each PE doesn’t change much — you just point the neighbor statement at the RR loopback instead of another PE’s loopback, and add the VPNv4 address family there. The RR needs the VPNv4 address family configured as well, even if the RR itself doesn’t have any VRFs.
For enterprise multi-site MPLS (where you’re a customer consuming MPLS service from a carrier rather than running the core yourself), the CE configuration is all you control. Your CE just runs OSPF or BGP with the carrier’s PE. Understanding what’s happening on the PE side — the VRF, the RD, the RT import/export — lets you read the carrier’s troubleshooting output intelligently and have productive conversations when something breaks instead of just waiting for a ticket to close.
RD consistency is the most common operational headache at scale. If a customer’s VPN has RD 65000:100 on 30 PEs and someone configures a new PE with RD 65000:150 by mistake, BGP sees a new prefix (because the 64-bit RD is part of the VPNv4 address) and the RT-based import may or may not catch it depending on your RT design. Automate VRF provisioning if you’re managing more than a handful of PEs — which is exactly why Python network automation with Netmiko and NAPALM becomes essential at scale: templated VRF configs pushed consistently are far safer than manual CLI on every PE.
Wrapping Up
MPLS L3VPN configuration follows a clear dependency chain: get the core IGP solid, enable LDP with pinned router IDs, build VRF definitions with correct RDs and RTs, wire up MP-BGP VPNv4 with communities enabled, redistribute CE routes into the VRF BGP address family, and verify each layer before moving to the next. When something breaks, you now have a systematic path to follow — check OSPF, check LDP, check MP-BGP VPNv4 prefixes, check the label stack in the forwarding table — rather than staring at a black box.
The real payoff isn’t just getting the lab to work. It’s that when you’re handed a customer’s MPLS WAN circuit from a carrier or tasked with designing a new enterprise MPLS core, you can read the PE configuration, understand every line, and know exactly what to verify when something doesn’t work. That’s what separates knowing MPLS from understanding it.