
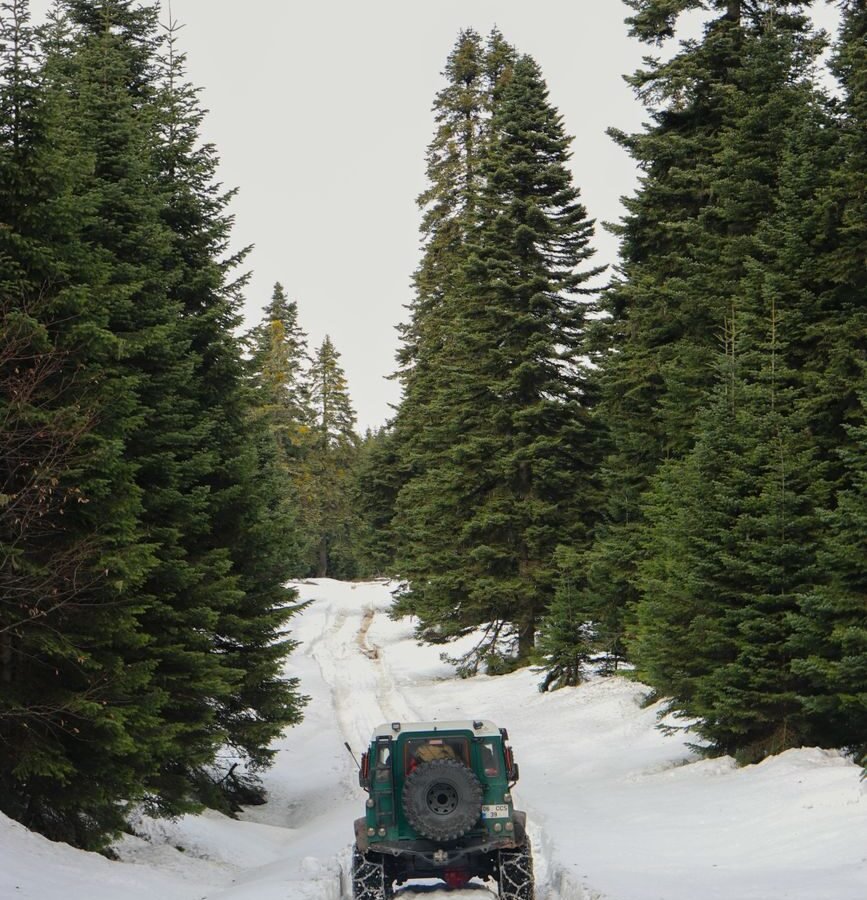

There’s nothing quite like being 30 miles deep on a backcountry trail when your buddy’s rig throws a check engine light — or worse, when you lose sight of the vehicle ahead at a fork and have no idea which way they went. Cell service vanished an hour ago, and you’re left wishing you’d sorted out a proper trail communication setup before leaving the trailhead. I’ve been there. Most overlanders have. It’s the kind of thing you only get serious about after it almost goes wrong.
Trail communication has come a long way, and in 2026 you have more options than ever — from classic CB radio to GMRS and the deeper world of amateur (ham) radio. This guide breaks down each system so you can choose what actually makes sense for your rig and your crew.
Why Trail Communication Matters More Than You Think
A lot of newer overlanders underestimate how fast a group can get separated on technical terrain. One slow-speed obstacle can put 10 minutes between you and the vehicle ahead. Dust clouds, dense trees, canyon walls — all of it kills line-of-sight and kills your phone signal. Having reliable radio comms changes the dynamic entirely.
Good communication means:
- You can warn vehicles behind you about a hazard before they reach it
- The trail guide up front can let everyone know the plan at a trail split
- You can coordinate a recovery without everyone hiking back to the same spot
- You can call for help if someone gets hurt in a place where help is genuinely needed
For longer trips with multiple vehicles, communication isn’t optional — it’s part of the safety plan. And if you’re already running a solid recovery gear kit, comms should be right there alongside it.
CB Radio: The Classic, Still Going Strong
Citizens Band radio has been the go-to for trail communication since the off-road community was born. Channel 4 is the unofficial wheeling channel, and most organized trail runs still use CB as a baseline requirement for all participants. The barrier to entry is almost zero — no license needed, and a decent mobile unit runs $60–$120.
How CB Works
CB operates on 40 channels in the 27 MHz band. It’s AM and SSB (Single Sideband), with a legal power limit of 4 watts AM and 12 watts PEP for SSB. Range on the trail is typically 1–5 miles depending on terrain. The signal doesn’t punch through hills or canyon walls particularly well, but for keeping a convoy together it works great.
Best CB Setups for the Trail
The Cobra 75 WX ST is a perennial favorite — it’s compact, mounts to the dash or visor clip, handles weather channels, and performs well for the price. For a more permanent install, the Uniden PRO520XL is bulletproof and easy to wire in. The antenna matters more than the radio itself: a longer whip (4-foot is common for Jeeps) will outperform a shorter one. Mount it high, keep the coax run as short as possible, and get the SWR tuned.
Antenna mounts for Jeeps typically go on the front bumper, rear corner of the cargo area, or on an antenna flag pole mount behind the cab. The sweet spot is getting it up high enough for line-of-sight without it getting destroyed by branches on tight trails.
CB Pros and Cons
- Pros: No license required, universal adoption in the wheeling community, cheap to get into, compatible across all brands
- Cons: Limited range, AM audio quality isn’t great, subject to interference and “skip” (signals from far away crowding local channels)
GMRS: The Smart Upgrade for Serious Overlanders
General Mobile Radio Service has become the go-to upgrade for overlanders who want better range and audio quality without diving into the complexity of ham radio. It runs on UHF frequencies (462–467 MHz) and with a decent mobile radio and a good antenna you’re looking at 5–25 mile range in open terrain, more with a repeater.
The License Situation
GMRS requires an FCC license — but it’s a single $35 license that covers your entire household for 10 years. No test required, just fill out the FCC Universal Licensing System (ULS) application, pay the fee, and you’re legal. Your license covers all family members, which is a huge bonus for overlanding families or couples. The callsign is assigned automatically and shows up in your ULS account.
GMRS Power and Channels
GMRS allows up to 50 watts on most channels (compared to CB’s 4-watt limit). In practice, 5–15 watts from a mobile unit is plenty for group trail comms. Channels 15–22 (the high channels) support up to 50W and are repeater-capable. Channels 1–7 and 15–22 are simplex channels you can use for trail communication — pick one and stick with it for your group.
Channel 20 (462.675 MHz) is widely used as an overlanding calling channel, similar to CB’s Channel 4 for wheelers. It’s also the designated emergency and calling channel for GMRS, so it’s a good starting point when you’re meeting up with other rigs.
Best GMRS Radios for the Trail
The Midland MXT575 is arguably the best bang-for-buck GMRS mobile on the market right now. It puts out 50 watts, has a clean display, NOAA weather alerts, and integrates well with Midland handheld units so your crew can carry matching portables. The Rugged Radios GMR45 is another strong contender if you want something built specifically for off-road use — it’s got a waterproof speaker mic and is extremely popular in the rock crawling and overlanding community.
For antennas, the Midland MXTA26 or similar 6dBi gain antennas work well. NMO mounts are preferred if you’re doing a permanent install — they’re far more durable than mag mounts over rough terrain.
GMRS Handheld Radios
Having handheld GMRS units for your group is incredibly useful for when people get out of their rigs. The Midland T295VP4 is solid. The Baofeng UV-9G is a budget option that’s become popular — just make sure it’s actually type-accepted for GMRS (many cheaper Baofengs are technically in a gray area for legal GMRS use on the high-power channels).
GMRS Repeaters: Massively Extended Range
This is where GMRS gets interesting. GMRS repeater networks are spread across the US, maintained by volunteer groups. Tools like MyGMRS.com let you look up repeaters in any area before your trip. If you’re in range of one, you can potentially talk from ridge to ridge across 50+ miles. Many popular off-road areas in the Southwest and Rockies now have GMRS repeater coverage.
To access a repeater, you use the offset frequency (typically +/- 5 MHz from the input frequency) and a CTCSS tone (commonly 141.3 Hz, but check the specific repeater’s listing). Program the repeater’s output frequency with the correct offset and tone into your radio before you leave home.
GMRS Pros and Cons
- Pros: Much better range than CB, great audio quality, repeater access, household license is cheap and easy, growing adoption in the overlanding community
- Cons: Requires FCC license, not universally compatible with CB-only groups, slightly higher equipment cost
Ham Radio: Maximum Capability, Real Commitment Required
Amateur radio (ham) is the most capable option by a wide margin. With a Technician license and a decent VHF/UHF radio, you can hit repeaters from much further out than GMRS, coordinate over 100+ miles, and even interface with the internet via Winlink or APRS for position tracking and messaging. The HF bands (with a General or Extra class license) let you communicate across entire continents without infrastructure — useful if you’re truly in the middle of nowhere.
Getting Licensed
The Technician class license is the entry point. It requires passing a 35-question multiple choice exam — no Morse code needed (that requirement was dropped years ago). Study resources like HamStudy.org and the ARRL study guides make it achievable in a few weeks of casual prep. The exam is administered by local amateur radio clubs and costs around $15. With a Technician license you get access to all VHF/UHF bands, which covers the 2-meter (144 MHz) and 70cm (440 MHz) frequencies most popular for off-road and overlanding use.
APRS: The Killer Feature for Overlanding
Automatic Packet Reporting System is one of the most useful features ham radio brings to overlanding. APRS sends periodic GPS position beacons over the 144.390 MHz frequency, and those positions show up on APRS.fi in real time. Anyone with an APRS-capable radio or an internet-connected device can track your position. It’s not a replacement for a dedicated satellite communicator like a Garmin inReach, but it’s a powerful supplement — and for group travel, seeing everyone’s positions on a map is genuinely useful.
Several Yaesu handhelds and the Kenwood TH-D75 have built-in APRS capability. You can also build APRS capability into a mobile setup using a Mobilinkd TNC or a Direwolf software TNC with a Raspberry Pi.
Recommended Ham Radios for Trail Use
For a mobile setup, the Yaesu FTM-500DR is excellent — dual band (2m/70cm), C4FM digital and analog compatible, and it has built-in APRS. The Icom IC-2730A is a simpler dual-band mobile that does the job well without the complexity. For handhelds, the Yaesu FT-65R is a rugged, waterproof option for the trail.
The Baofeng UV-5R is the infamous budget option. It works, but TX quality is mediocre and it’s not type-accepted for commercial or GMRS use — on ham bands, it’s technically legal as long as you have a license and don’t interfere with others. For actual use on the trail, the step up to a name-brand radio is worth it.
Ham Pros and Cons
- Pros: Maximum range and capability, APRS position tracking, access to thousands of repeaters nationwide, HF capability for backcountry emergency comms, large and helpful community
- Cons: Requires passing an exam and FCC licensing, steeper learning curve, more expensive equipment for full capability, your group members need ham licenses to transmit (though they can listen on any receiver)
Satellite Communicators: When All Else Fails
No radio guide for overlanders would be complete without mentioning satellite communicators. Garmin inReach Mini 2, SPOT X, and the Zoleo are the most popular options. These aren’t two-way voice, but they give you two-way text messaging and SOS capability anywhere on the planet via Iridium or Globalstar satellite networks. Monthly plans run $15–$50 depending on usage.
Think of a satellite communicator as your emergency backstop, not your primary trail communication tool. Pair it with a good radio setup and you’ve covered all your bases. They’re also invaluable for keeping in touch with folks at home when you’re beyond cell coverage — a simple “we’re camped for the night, all good” message means a lot.
Building Your Trail Communication Setup: Recommendations by Use Case
Solo Overlander on a Budget
Start with a GMRS handheld (Midland T295 or similar) and a Garmin inReach Mini for emergency SOS. Total cost: ~$150–$200. The inReach is the must-have; the GMRS radio helps you communicate with other rigs you meet on the trail.
Small Group (2–4 Vehicles), All Friends
One GMRS mobile per vehicle, matching handhelds for walking around camp. Get everyone a household license (it’s $35, covers your whole family). This setup works for 95% of organized trail runs and group overlanding. Budget ~$150–$300 per rig for the mobile install.
Organized Trail Run / Large Group
CB is still the universal baseline for open trail runs where you might meet up with strangers. Run both CB and GMRS in the lead and sweep vehicles. For the whole group, requiring CB ensures everyone can communicate regardless of what radio they have.
Remote Backcountry / Expedition-Level
Get your ham license and invest in a capable dual-band mobile with APRS, plus a sat communicator. Consider adding an HF radio (needs General class license) if you’re doing truly remote routes. This setup gives you communication capability at any distance and in any terrain.
Mounting and Installation Tips
A few practical notes from experience:
- Antenna coax runs: Keep them as short as possible and avoid sharp bends. A high-quality low-loss coax (LMR-400 or equivalent) makes a measurable difference, especially for GMRS and ham frequencies.
- Speaker placement: On the trail with windows down, engine noise, and wind, a dash-mounted speaker is nearly useless. Get an external speaker you can mount near ear level, or use a speaker-mic mounted to your chest.
- Power wiring: Run mobile radios directly to the battery with an inline fuse, not through the fuse box. This eliminates noise issues from alternators and keeps the radio alive even if you’re doing electrical work.
- Programming: Do all your channel and repeater programming at home before the trip. CHIRP software (free) makes programming Baofengs and many other radios simple. Midland and Rugged Radios have their own programming tools.
For more on building out your rig’s systems, check out the Overlanding 101 guide for a solid overview of what a trail-ready setup actually looks like, and the GPS and mapping apps guide to pair your comms with proper navigation.
Which System Should You Choose?
If you’re just getting started: GMRS mobile + handhelds. It’s the best balance of capability, cost, and ease of use. Get the $35 household license, grab a Midland MXT575 for each vehicle, and you’re sorted.
If you wheel regularly with groups and want maximum compatibility: run both CB and GMRS. CB keeps you connected with strangers on organized runs; GMRS handles your personal crew with better audio and range.
If you’re doing remote trips or serious backcountry routes: invest the time to get your ham Technician license. APRS alone is worth it, and having access to the full ham repeater network is a legitimate safety upgrade on long-distance trips.
Trail communication isn’t glamorous gear — it doesn’t have the visual appeal of a lift kit or the fun factor of a new locker. But it’s the kind of thing that pays for itself the first time you’re in a bind and can actually reach your people. Get it sorted before your next trip.

Leave a Reply